How to Navigate the Airport
This is a step-by-step guide to get from check-in to gate to baggage claim.
Many or all of the products on this page are from partners who compensate us when you click to or take an action on their website, but this does not influence our evaluations or ratings. Our opinions are our own.
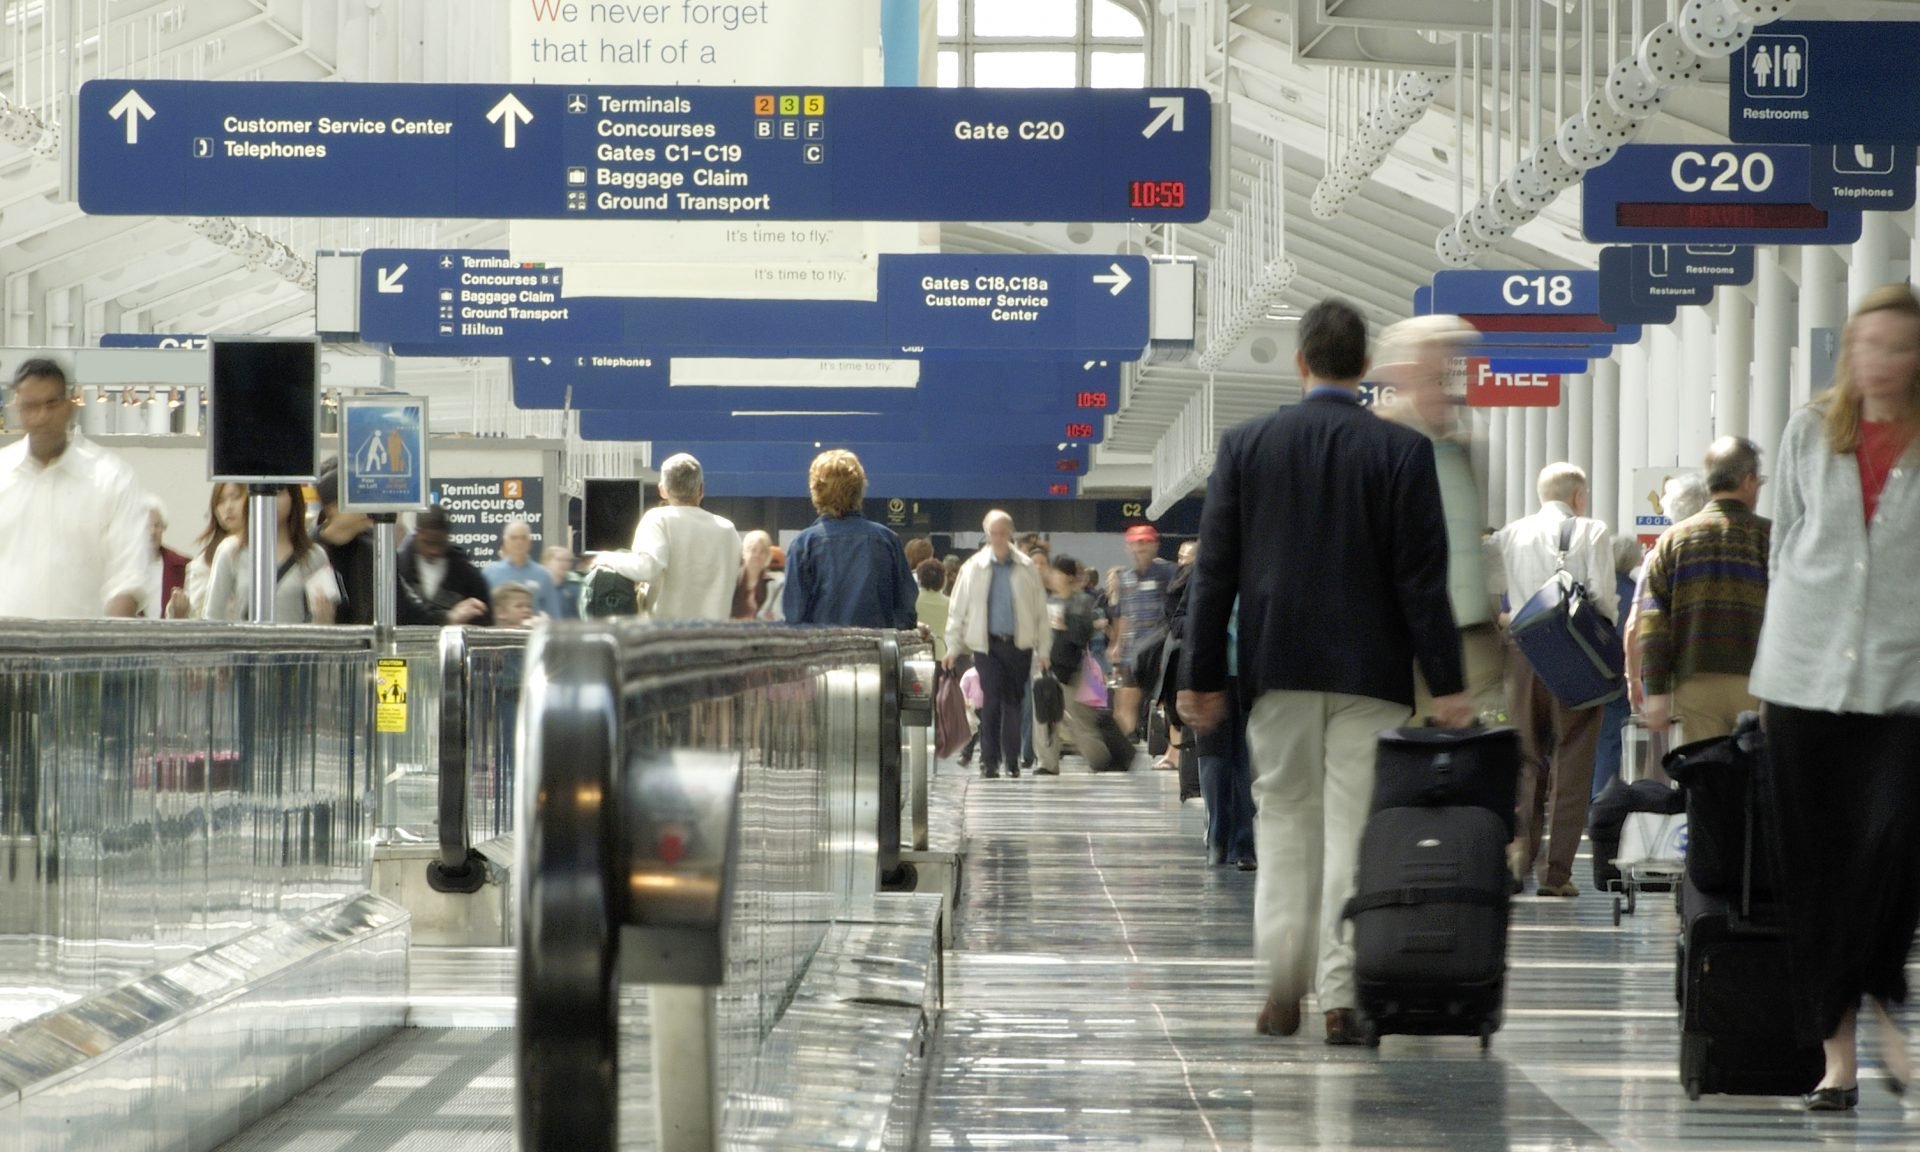
If you don’t fly often or you're a first-time flyer, going to the airport can already feel like you’re entering a new universe of moving walkways, long hallways and gates to other cities. Some airports even have their own mini train or tram system to help customers get between terminals, so you might have to figure out which line to take and which direction.
It may look and sound overwhelming, but learning what to do at the airport can be easy.
The good news is that most airports have a similar basic design, and the steps that you need to follow are essentially the same, no matter which airport is closest to your home. You won’t even need a map to master the airport process. Here is a step-by-step guide to help you learn how to navigate the airport as we move headlong into busy travel seasons.
» Learn more: The best airline credit cards right now
How to find your way around an airport
1. Arrive in the right spot — and at the right time
Follow the signs at your respective airport to make sure you find the correct terminal building for your flight. For instance, at Denver International Airport, Terminal East hosts airlines like Alaska, Delta, Frontier, Southwest and Spirit, whereas Terminal West hosts American, JetBlue, United, WestJet and others. Enter the airport at your terminal to simplify the next steps of the process.
🤓 Nerdy Tip
Research the correct terminal in advance of your departure. This will help you feel less overwhelmed by any of the directional signage lining your route to the airport itself. Most airlines recommend that you arrive at the airport at least two hours before departure for domestic flights and three hours for international flights. You’ll hear all sorts of advice about whether you need to be there that early, but it’s a good general rule.
There are several reasons why you might need extra time:
- Are you checking a bag? If so, you might have to spend more time checking in and getting someone to weigh your bag, instead of going straight to the security checkpoint with your boarding pass. Check-in line wait times can vary greatly, so you'll want to build in some time for this if checking a bag.
- Are you parking at the airport? If so, give yourself an extra 20 minutes on top of what time you already planned to be there. Sometimes, airport parking lot shuttles can take a long time to make their rounds or get filled to capacity with families and their luggage. If you budget extra time, waiting for the next shuttle won’t derail your travel plans.
- Do you have TSA Precheck or Global Entry? These security pre-clearances can make it faster to get through security at the airport. If you don’t have one of these, keep in mind that you might have to wait in line longer, and budget ahead of time to accommodate the potentially long queues.
Get the 'Cheat Codes' to Cheaper Travel
Unlocking the secret to saving a ton on travel is easier than you think. 📤 Our free newsletter shows you how in 5 min. or less.
2. Check in
Once you enter the airport, the first thing you should do is check in (if you haven’t done so already online).
Many airlines allow you to check in online 24 hours before your flight. If you’re not checking a bag, this is a great option because it allows you to download a mobile boarding pass to your phone to bypass check-in and head for security (Step 3).
If you’d like a paper boarding pass or if you’re checking a bag, you’ll have to officially check in. Some airlines will offer self check-in kiosks, where you’ll enter some information about your flight reservation to print boarding passes, check bags and select seats. From there, you’ll need to find your way to the luggage drop line to get your checked bag weighed.
For airports without self check-in machines, the airline’s customer service agents at the check-in counter will handle the entire process.
3. Go through the security checkpoint
Once you’ve checked your luggage and gotten your boarding pass, you should go to the TSA checkpoint leading to the proper concourse for your flight. Concourses are usually marked by letter (e.g., Concourse A, B, C) and align with your gate designation (so Gate B12 would be in Concourse B).
Sometimes, the signage will say things like “To All Gates” to help lead you away from the check-in area. There may also be separate security checkpoints for different gates, so if there are directions based on your gate number, default to those instructions.
🤓 Nerdy Tip
If you’re feeling overwhelmed by where to go, generally follow the crowd of people who just checked in. Once you see the area with different lines, TSA personnel in blue shirts, stacks of bins, X-ray machines and metal detectors, you’ve made it to the right place. Get in the proper line based on whether you have TSA Precheck (it will be noted on your boarding pass) or not.
Understand what items you can and cannot bring through airport security. Many prohibited items should be fairly obvious; you can't bring weapons, flammables or other sharp objects in your carry-on. But there are some surprising items you cannot bring through airport security, too. A common one that gets people is that liquids are limited to travel-sized containers that are 3.4 ounces. You can't bring through beverages, but it also means you can't bring through foods like peanut butter jars or yogurt containers.
It also means that — unless they're in a small package — you can't bring through many toothpastes, lotions and shampoos. If you must travel with your own toiletries, consider packing products like the shampoo and conditioner bars that become activated with water. They aren't actually a liquid — so you can still take them in your carry-on through security.
» Learn more: Can you bring food through TSA?
The general security checkpoint process usually goes something like this:
- A TSA agent will check your boarding pass and ID. Have both items out before you walk up to their podium to save time. Then, stow these items safely before you go through the security checkpoint — as you don't want them to fall through the cracks or get forgotten.
- Walk up to the baggage screening line and when it’s your turn, grab however many plastic bins you think are necessary. A good rule of thumb is one for your clothing and liquids, one for electronics and one for your personal item, if needed.
- Place your bins on the belt. Take off your jacket and empty your pockets; put these items in one of your bins. Take your toiletries out of your carry-on and put them in a bin (hopefully any liquids are TSA-compliant). Note that you can stack these on top of other items if needed.
- Take out your laptop, iPad and other large electronic devices and put them in the second bin. These cannot be stacked with other items.
- Add your carry-on luggage or personal item to the belt, if applicable.
- Push your bins and your carry-on luggage through the scanner and then join the line to go through the X-ray machine.
- Once you’re out of the machine, grab all of your bins and luggage. To avoid crowding and holding up the line, take your luggage and bins to the sitting area away from the scanner so you can take your time putting your bags back together. Make sure you didn’t forget anything — especially that boarding pass and ID you were supposed to put away or your laptop that had to be in its own bin.
» Learn more: 6 must-know tips for first-time flyers
Depending on the airline you fly with as well as how long you’re traveling for, you might wonder whether you’re better off traveling with a checked bag rather than a carry-on. This can be especially relevant if you’ve got some liquids with you that exceed the TSA carry-on liquid limits.
WANT TSA PRECHECK FOR FREE?
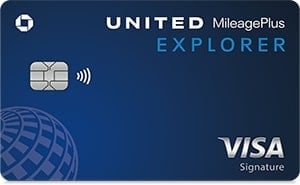
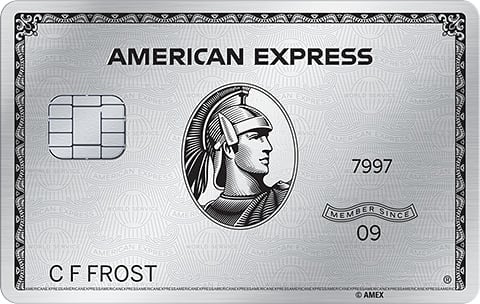
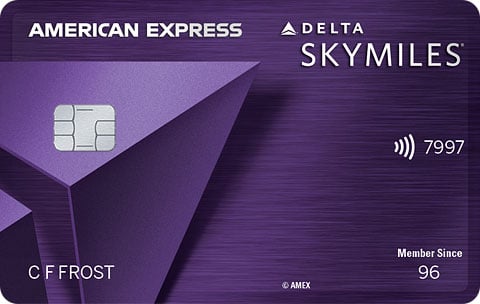
A number of popular travel credit cards reimburse you for the application fee for trusted traveler programs like TSA PreCheck and Global Entry. Among them:
Annual fee
$0 intro for the first year, then $150.
$795.
$95.
Benefit
Statement credit of up to $120 as reimbursement when you charge the application fee for TSA PreCheck, Global Entry or NEXUS to the card. Available once every 4 years.
Statement credit when you charge the application fee for TSA PreCheck, Global Entry or NEXUS to the card. Available once every 4 years.
Statement credit of up to $120 as reimbursement when you charge the application fee for TSA PreCheck or Global Entry to the card. Available once every 4 years.
Learn more
How to get credit card reimbursement
If your credit card offers reimbursement for the application fee for programs like TSA PreCheck or Global Entry, you must pay the fee with the card. You cannot submit a claim for reimbursement if you paid with some other method. Reimbursement will usually appear as a statement credit in your account within two months.
Cards typically offer reimbursement of only one fee once every four to five years. Check the terms and conditions of your card for the specific rules that apply. Note also that these cards only reimburse the application fee for a trusted traveler program. They don't automatically enroll you in the program or guarantee that you'll be accepted by the program. You still have to apply and go through the required screening, which in the case of TSA PreCheck and Global Entry includes an in-person appointment.
Cards that reimburse TSA PreCheck® fees
Terms apply.
4. Find your gate
Once you’ve been cleared through security, follow the signs to your gate. It should be listed on your boarding pass, but the most up-to-date information can be found on departure monitors throughout the airport.
Once you confirm the gate for your flight, look for signs that direct travelers toward different parts of the airport. You might have to take a quick tram to another terminal, but this should be clearly marked for travelers. In general, you will want to follow signs with numbers and arrows — somewhat like when you head to a hotel room.
If you have any questions, try to find an information kiosk or a fellow traveler to help point you in the right direction.
5. Wait at the gate
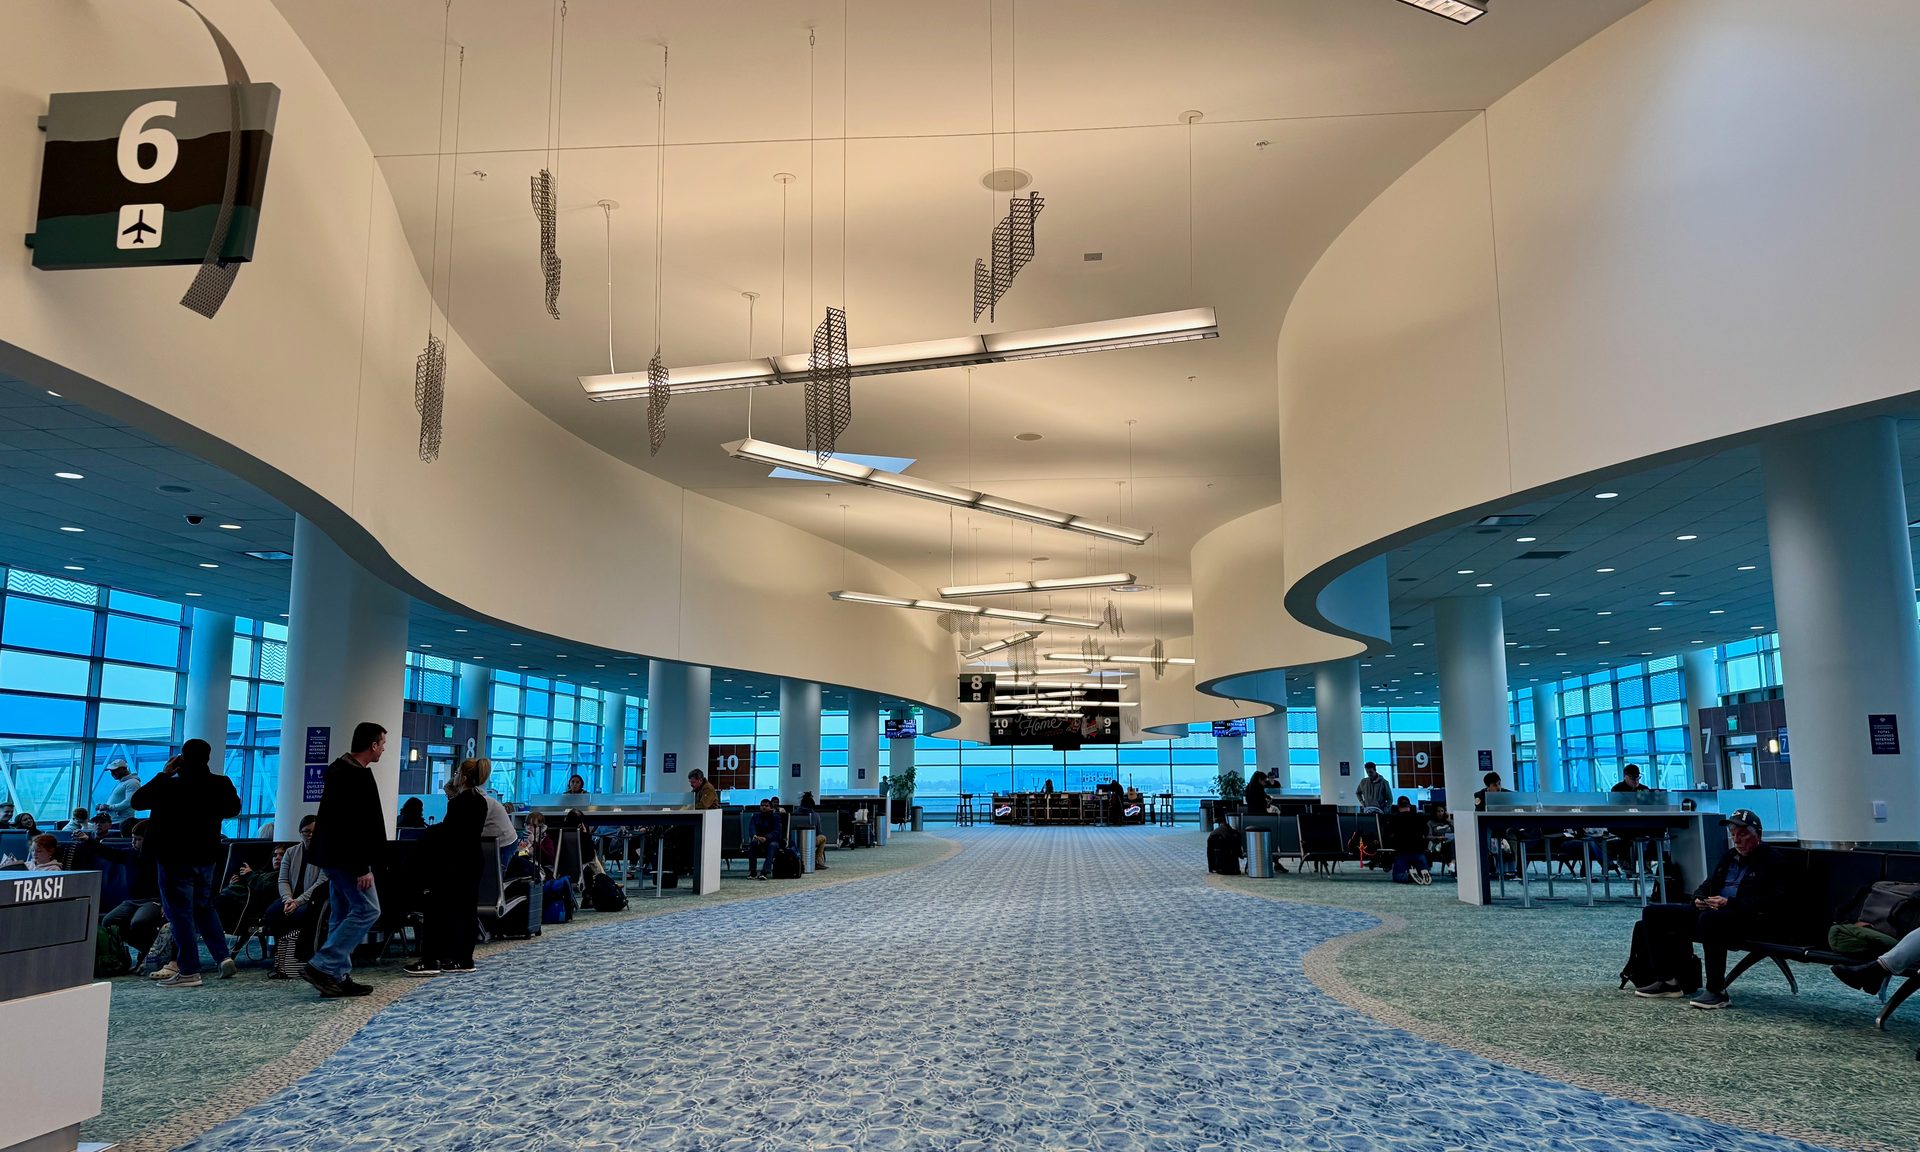
Now, depending on how much time you have before the boarding time listed on your boarding pass (usually 30 minutes to an hour before your departure time), you may have some time to kill.
🤓 Nerdy Tip
You’ll usually want to stay nearby so you can quickly get back to the gate if you need to. Make sure you can hear any pertinent updates about your specific flight, such as delays. This is the time you can use to grab food or shop at the establishments inside the concourse. It’s notoriously expensive to eat at the airport, but it’s even more expensive to purchase food onboard. Plus, your options will be much more limited, so it’s a good idea to grab a bite before you get on the plane if you’ll need a snack later on.
Some travelers also use this time to go to the bathroom or refill their water bottle. Unless you decide to buy Wi-Fi onboard, your time at your gate might be your last chance to charge your electronics and download movies, music or podcasts before the flight. Otherwise, you’ll be stuck with whatever your airline is offering for in-flight entertainment.
An airline lounge might be a good place to stop if you have a lot of time before your flight. If you’re flying first or business class or your credit card comes with lounge access, you might be able to wait for boarding time from the comfort of a lounge, which usually offers more spacious seating and unlimited food while you’re there.
UNLOCK AIRPORT LOUNGES WITH THE RIGHT CARD
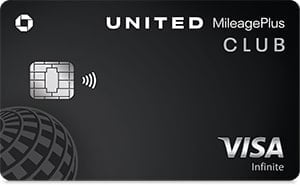
Major U.S. airlines operate airport lounges for high-priority customers, as do some credit card issuers, most notably American Express. A number of airports also have independently operated lounges that are accessible through networks like Priority Pass. Several credit cards provide airport lounge access, although no single card gets you into every lounge. Among cards with lounge access:
Annual fee
$895.
$595.
$695.
$650.
$795.
Lounge benefits
Access to more than 1,500 lounges worldwide, including:
• The issuer's own Centurion Lounges and International American Express lounges.
• Delta Sky Clubs, when flying Delta. 10 visits a year.
• Priority Pass Select lounges (enrollment required).
• Lounges in the Plaza Premium and Escape networks.
Terms apply.
Complimentary Admirals Club membership, plus access to partner lounges with which American Airlines has a reciprocal agreement.
Access to United Club locations and participating Star Alliance affiliated lounges worldwide.
For occasional United travelers, United℠ Explorer Cardoffers two one-time passes to the United Club each year. That card has an annual fee of $0 intro for the first year, then $150. Read our review of that card.
• Access to Delta Sky Club when traveling with Delta, plus four one-time passes each year for guests. 15 visits a year.
• Access to American Express Centurion Lounges when flying Delta.
Terms apply.
• Priority Pass Select membership, with access to over 1,000 airport lounges internationally and meal credits at select airport restaurants and bars.
• Access to Chase's own Sapphire Lounges, though there are currently only a couple of locations.
Learn more
To view rates and fees of the American Express Platinum Card®, see this page. To view rates and fees of the Delta SkyMiles® Reserve American Express Card, see this page.
6. Board the airplane
The last step is to get on board. Wait for your boarding group to be called, which should be listed on your ticket. Most airlines board by a numbered boarding group, and people with elite status and those flying first class usually board in the earlier groups.
You won’t be able to board with an earlier group than the one listed on your ticket unless you need special accommodations, like if you’re flying with small children. In those cases, they’ll usually announce when they’ll allow people who need extra help or time to board. If you miss your boarding group, you will still be able to board with later groups.
Once you hear your group, get in the correct boarding lane. Usually there’s a general boarding lane and another lane for people in priority boarding groups or those with elite status. The gate agent will scan your boarding pass and you can proceed down the jet bridge.
Normally, you won’t have to show your boarding pass again on the plane, but make sure you know your seat number before you put it away and keep it accessible in case needed. Then find your seat and stow your luggage as quickly as you can, so the plane can take off on time.
7. Retrieve your luggage
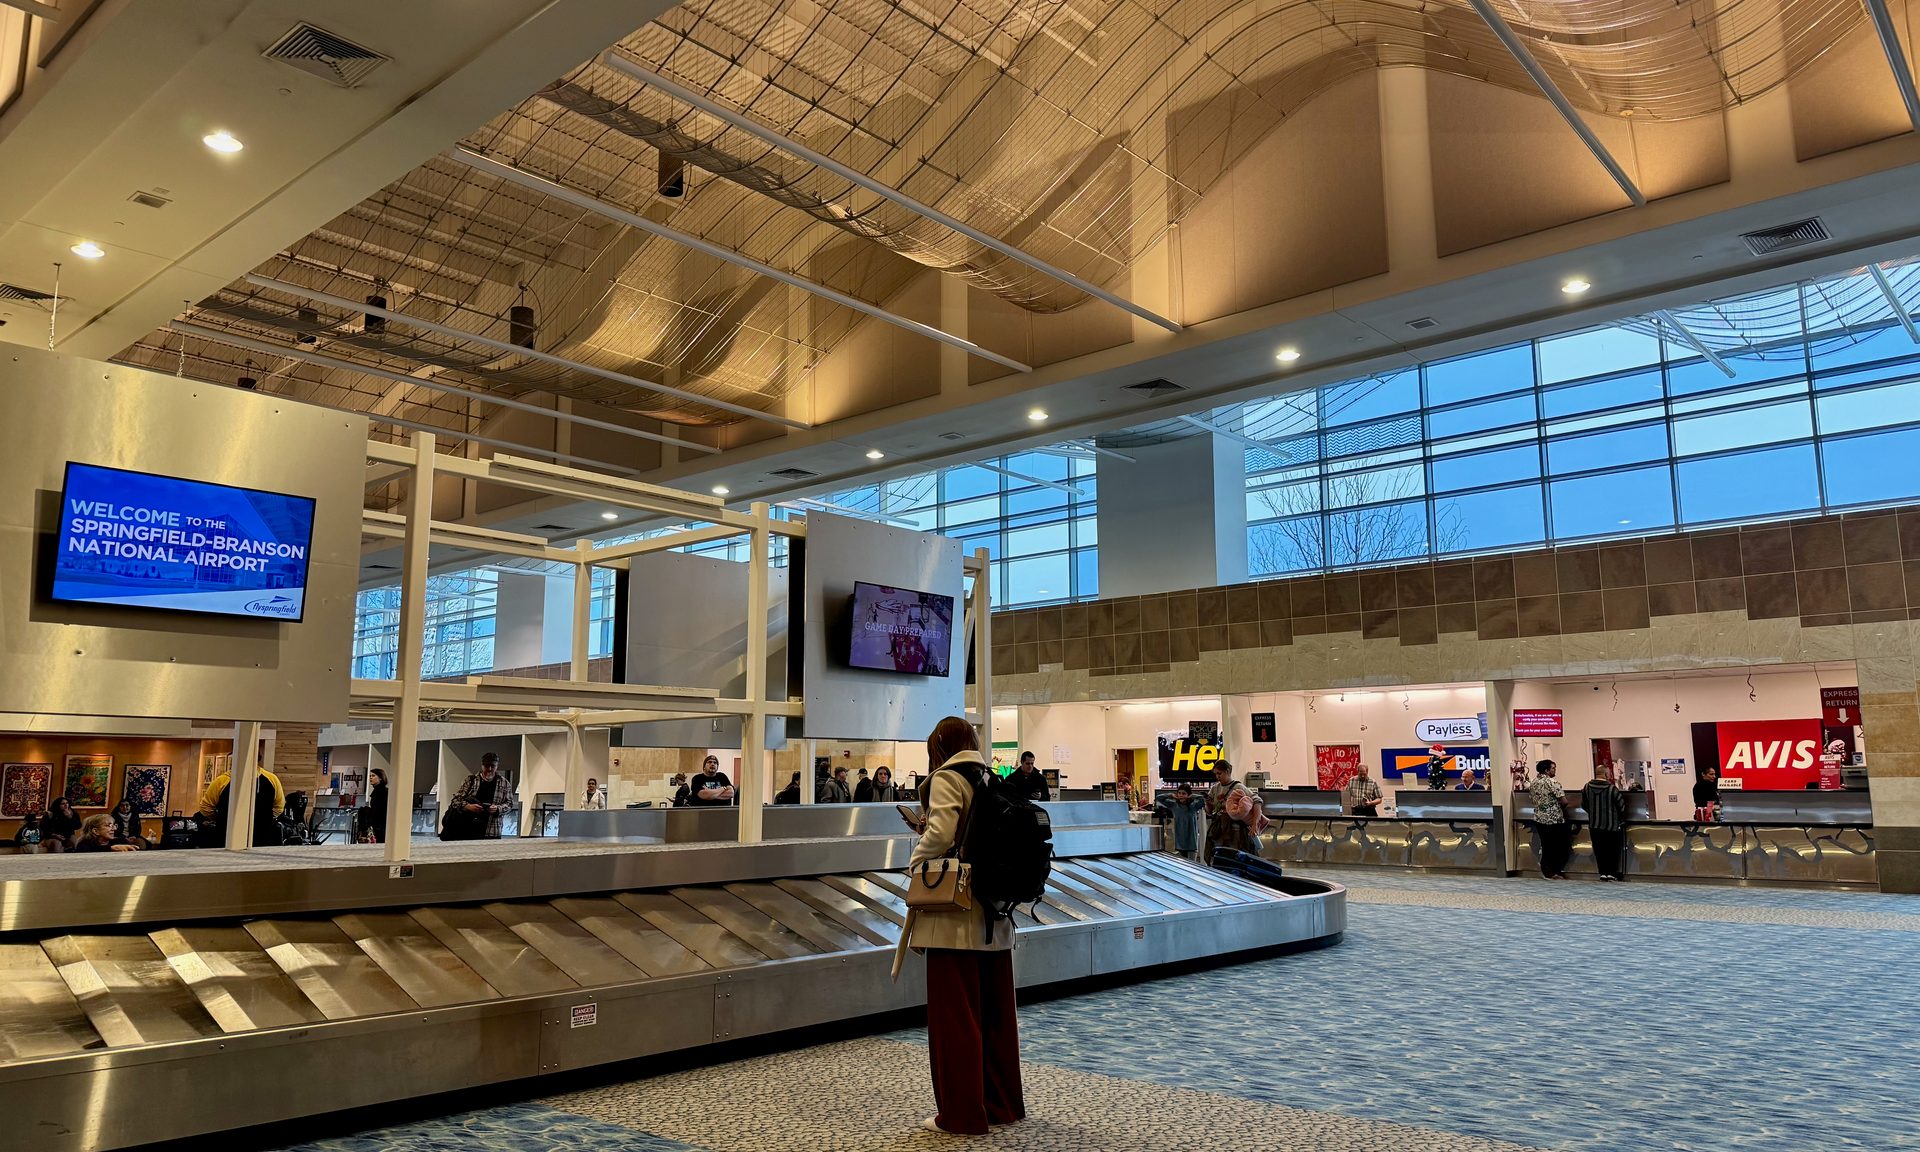
Once your plane arrives at your destination, you’ll want to follow the signs to baggage claim to pick up your checked bags. Each flight is assigned a luggage carousel, so check the monitors near baggage claim to find out which one your bag will arrive on. The time you spend waiting for your luggage to arrive can vary, sometimes up to 30 minutes or more. This is usually a good time to go to the bathroom or grab a snack.
Alaska Airlines has a 20-minute baggage guarantee, so if your bags take more than 20 minutes to show up on the baggage carousel, you can report it to the Alaska baggage office and get a $25 discount code or 2,500 Atmos Rewards points for use on a future Alaska Airlines flight.
If you don’t see your bags after all the luggage from the flight has been unloaded, find the airline’s baggage office at the airport to report your missing items. They should be able to help you find them. If your luggage is missing, document your loss and collect the necessary paperwork such that you can file a claim with your travel insurance provider or credit card issuer (assuming it includes insurance coverage).
Get the 'Cheat Codes' to Cheaper Travel
Unlocking the secret to saving a ton on travel is easier than you think. 📤 Our free newsletter shows you how in 5 min. or less.

8. Exit the airport and enjoy your trip
This can be the trickiest part. Each airport has different rules about where to pick up rideshare services. You might need to figure out which level of the airport is designated for ground transportation — meaning buses, shuttles and cars to catch a ride out of the airport. Sometimes, you might be able to take the metro right from the airport to the heart of the city. Follow the signs and ask for help. Your trip is just getting started.
To view rates and fees of the Delta SkyMiles® Reserve American Express Card, see this page.
To view rates and fees of the American Express Platinum Card®, see this page.
How to maximize your rewards
You want a travel credit card that prioritizes what’s important to you. Here are some of the best travel credit cards of 2026:
- Flexibility, point transfers and a large bonus: Chase Sapphire Preferred® Card
- No annual fee: Wells Fargo Autograph® Card
- Flat-rate travel rewards: Capital One Venture Rewards Credit Card
- Bonus travel rewards and high-end perks: Chase Sapphire Reserve®
- Luxury perks: American Express Platinum Card®
- Business travelers: Ink Business Preferred® Credit Card
Article sources
NerdWallet writers are subject matter authorities who use primary,
trustworthy sources to inform their work, including peer-reviewed
studies, government websites, academic research and interviews with
industry experts. All content is fact-checked for accuracy, timeliness
and relevance. You can learn more about NerdWallet's high
standards for journalism by reading our
editorial guidelines.
Limited Time Only: Earn $1,000 Toward Travel!
Capital One Venture Rewards Credit Card 
Travel

For a limited time, the
Capital One Venture Rewards Credit Card is offering new cardholders an especially rich bonus: Enjoy $250 to use on Capital One Travel in your first cardholder year, plus earn 75,000 bonus miles once you spend $4,000 on purchases within the first 3 months from account opening - that’s equal to $1,000 in travel!
More like this
Related articles


